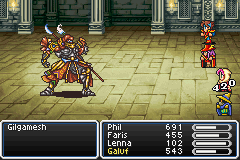
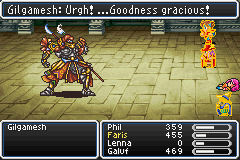
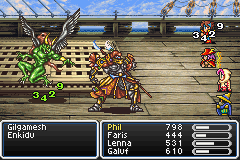
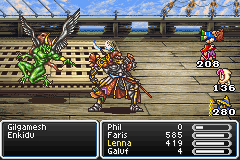
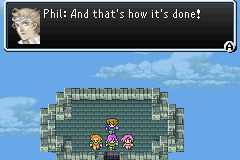
Black spells were enough for the Galuf Gilgamesh solo battle. The Big Bridge battle took a while, and scared me when Hasted Gilgy got two turns in a row and killed Lenna with two Jumps, but Faris took over the healing duties and we slowly won.
However, we had this problem: Lenna dead and Faris didn't have enough MP left to revive her! There's an element of FF1 gameplay that you just don't get in any newer games. Trying to limp out of a dangerous dungeon down a party member. I had to use barrels of potions after every fight, but we got off the Bridge with no more casualty toll.
Regole supplied a weapon upgrade to the Sleep Sword, which I don't think I've ever used before. It's allowable, Sleep is a spell effect that existed in FF1 and is legal for this FF5 variant. I found the weapon extremely useful in random battles, the Sleep effect going off very frequently. One good hit takes an enemy entirely out of commission, and the sleeping made it very easy to wait and heal to full with the Healing Staff.
And at least Tyrannosaur was no problem, with twin Protect casters then twin Fire-2 cannons dealing 800 per cast. (I guess that screenshot doesn't show very much. ![]() )
)
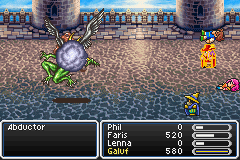
I almost got wasted by, of all things, the lone Abductor boss battle on exiting Bal castle. He hit twice with Vampire for over 1200 damage, wiping out two Light Warriors! In desperation I tried the Break black magic spell... which worked!

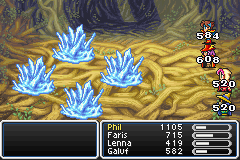
Drakenvale was the first dungeon long enough that resource management became a concern. No ability to refill MP outside of save points actually makes for a pretty fun restriction. I like the resource management aspect of gameplay present in FF1 and created by this variant. Strong magic is available in tough spots, but it's very much a limited resource. If there's no danger, we need to patiently work through the foes with the two physical attackers and Healing Staff. Above is a shot of the party when they reached the save point in Drakenvale. The two black spellcasters started to run pretty low on MP.
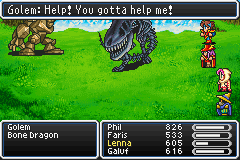
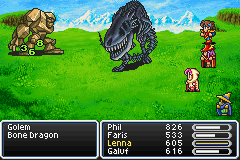
Golem, sorry but we don't think so. I'd rather leave Golem unsaved so that the fight can reappear since it's easy to win. We had to stick to the mantra of patience, Lenna healing Golem every turn while the physical attackers slowly worked down the dragons. Then when one was dead and the second almost so, let it kill Golem, so as to preserve him for another round of this fight.
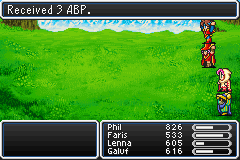
Hey, what gives - no exp or gold from the battle? Bone and Zombie Dragons are worth rewards on their own! Well I can understand not allowing a milkable repeatable encounter like that. But how's it coded internally - there must be a special case check for this encounter to not reward the rewards?

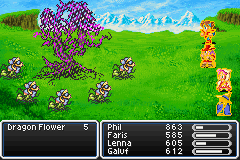
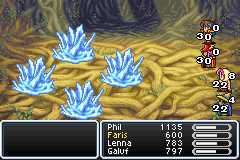
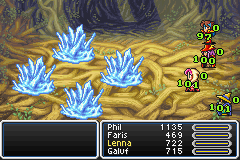
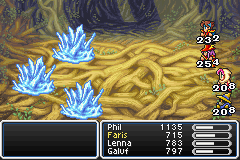
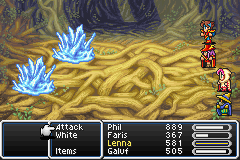
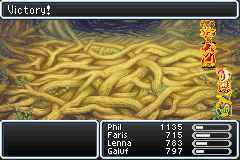
Hiryuu Plant - I confess that I haven't really learned the mechanics of the fight. But I quickly figured out to use Sleep spells to put down the five small flowers, then hack up the boss flower at my leisure. Heh, the Sleep spell is useful exactly once in FF1 (the fight with 9 Pirates) and looks like it was again here. ![]()
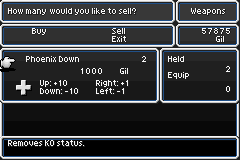
Heh, it's kind of fun selling Phoenix Downs for 500 gold each. Too bad Elixirs go for only 5 and not half their purchase price of 50000. But I suppose the game is better if you can't farm yourself a millionaire in the Ship Graveyard.
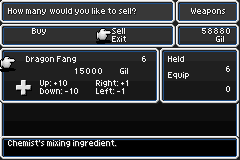
And wow, Dragon Fangs sell for 2500 gold? I never tried to sell a precious mixing ingredient before!
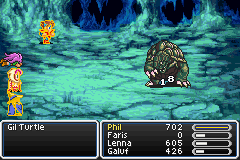
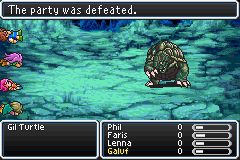
I know one way this party is NOT going to earn gold, however. Yes that is 18 damage from my fighter against a 32,000 life boss.
SHEEIT. Vampire does damage equal to the caster's "missing" HP, max minus current. Enkidu has 4000 max, so he was just one hit away from death, when he pulled that out to pancake Phil!
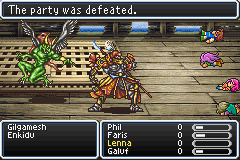
He followed that up with a Death Claw / Wind Slash combo to redline and kill my other damage dealer, and there was no recovering from that.
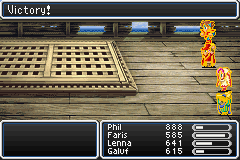
Second try, we got in the 4000 damage before any shenanigans, taking out Enkidu and then Gilgamesh was no problem.
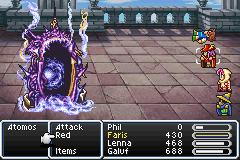
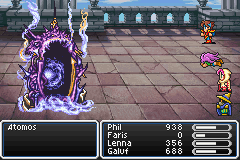
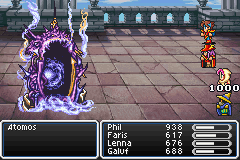
And now Atomos. I don't really have much of a plan just yet.
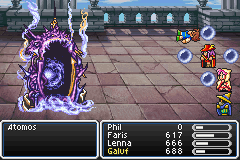
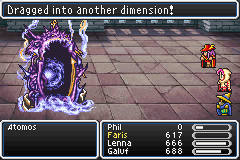
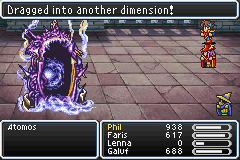
The leading damage dealer going down to the Comets is not part of the plan. Neither is my remaining hitter getting Slowed, which I have no way to undo since the Heal/Esuna spell doesn't. We still worked through about 8,000 damage before Phil's body reached the boss. (This is actually the first time I've seen Atomos actually eat somebody.) Might have a chance... except the next hail of Comets floored TWO warriors.
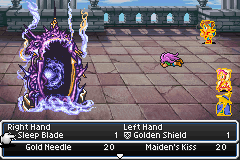
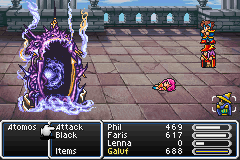
Then I remembered Atomos' weakness: Sleep. Galuf heroically hit him with a Sleep spell, which locked him down for Galuf to fling black magic at his leisure.
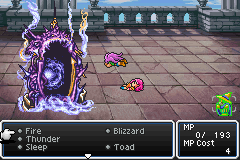
Except then he ran out of MP. Galuf could sit there forever watching Atomos sleep, but could never kill him. (Ethers and Elixirs are off limits by variant rule; FF1 had no way to restore magic power in battle.) We'll call that a draw and try again.
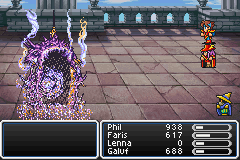
Next try, Faris ate comet dust. Galuf landed the Sleep spell, and emptied out his tank of MP, but that only added up to about 5000 damage. If only I could keep hitting him and re-apply Sleep each time...
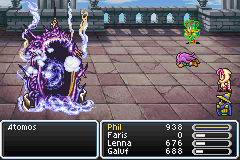
Hey, look at that.
Unfortunately, that wasn't quite enough to solve the job; the sleep effect was only about 50-50 on each hit. Eventually Faris got sucked up, then Phil bit it to the next Comets. Galuf still had the mojo for one more sleep spell, so we could call it a draw again.
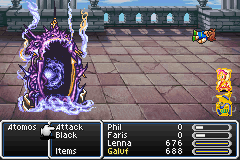
Third try, I got what I needed, Lenna to be the one dying to Comets. Perfect. The two black casters emptied their MP for about 8000 damage total, then we went to work with the pair of Sleep Swords. I had the tactics figured out correctly: any time the Sleep effect worked, STOP. Skip until it is Galuf's turn and the other two warriors are also ready. Then Galuf can poke with his little Guardian Dagger for an extra 50 damage and the sleep-sworders have two shots at refreshing it.
Uh oh, there went Lenna. I haven't been counting damage exactly but I know we're close. Please let Galuf eat the milky way next...
Or simply winning now will do too.
(BTW, I got a Reflect Ring in the tower on about my fourth fight against Reflect Knights. Sullla's solo characters cried as we sold it off for the 10k gold.)
(BTW2, in the ongoing party composition sidebar, the Red Mage shined here. Faris pulled great double duty with black magic and swinging the Sleep Blade. With a Monk instead, I probably would have had to do it by retrying until the Monk ripped out enough criticals. Fighter-Monk-Red-Black though, skipping the WM, would have done great.)
So we run the errand to Ghido, then over to the Forest of Moore. How convenient is it that the game gives you the best black magic spells, then the dungeon right there has its strongest random enemy weak to fire. ![]() Still, I couldn't go pitching Fire 3s like crazy at will against the tree enemies; Galuf only had the juice for 8 shots. Just like FF1. Anyway, the forest was easy but lucrative as always; the characters gained more than two levels each going through it.
Still, I couldn't go pitching Fire 3s like crazy at will against the tree enemies; Galuf only had the juice for 8 shots. Just like FF1. Anyway, the forest was easy but lucrative as always; the characters gained more than two levels each going through it.
On the Crystal boss battle, the two white casters got Armor spells up, while Galuf fired Fire 3s and Phil just attacked the closest crystal...
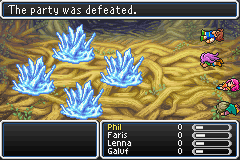
which ripped out two Aqua Breaths without us getting a turn between! Flattened Lenna the healer and we had no chance from there.
Okay, we need a plan. First part of the plan is to take the time to put up Shell/Barrier spells too to halve magic damage taken. (I left Shell on the variant table figuring that it would be needed in situations like this. FF1 doesn't have a direct equivalent, but it has the AFIR/AICE/ALIT/WALL spells for elemental resistance so Shell is close enough to that in results.) Go go versatile Red Mage: Faris importantly took over the curing duties while Lenna spent her turns on the Armors and Shells.
Part two was to weaken crystals to just above the critical range, since they start the dangerous attacks when under 3000 HP from the start of 7777. (This is standard procedure.) Phil started on that while Lenna was still casting buffs.
And part three was to wait on Lenna's turn until all the warriors' action bars were filled and the crystals had just had a turn. Wipe away all the damage with Cure 3, then unload maximum power into one crystal. It got one turn and hit with one moderate spell, but we wiped away that damage again.
Rinse and repeat three more times. We left the Fire crystal for last because it's the hardest to kill because the black mage can't hurt it because it absorbs fire along with all other elements. It launched Firagas at the party twice but that was survivable and curable. After three rounds of sword swinging, that was that.
The invincible solo Galuf fight against Exdeath took a few minutes - he was almost out of MP after the crystals, so he had to do it with an Air Knife. (I moved him to the front row just to speed it up.)
And thus we arrived at Exdeath Castle and the world 2 boss. As with many variants, this is the first mega tough battle of the game, so it's worth a new page.
Index | Next