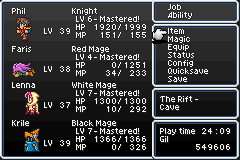
Guess it's time for the Cleft.
Crap, wasted by a random encounter. That was three Ankhegs that got a surprise round and cast multiple Earth Shakers. Phil limped out of there with his sword, but got flattened by a Land Crawler. Well, we're not underleveled... gotta chalk that up to bad luck and try again.
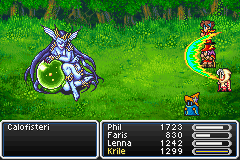
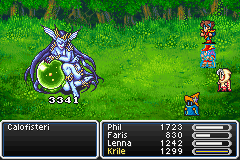
Calofisteri: easy as always. We led with Flare and Holy, till she cast Reflect on herself. Then Phil just hit with the Brave Blade. Then Calofisteri tried to Reflect herself again, which bounced off her and hit Faris! That opened the door to reflect spells off Faris onto her, and game over.
Came thisclose to running out of juice just getting to the next save point in the caves. Faris died to an Earth Shaker from a Great Dragon, and everybody else ran out of magic in that and other battles. But we made it.
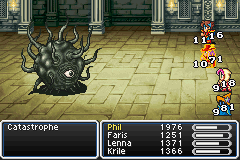
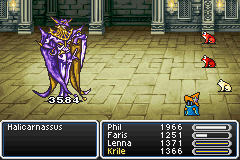
Byblos and Apocalypse and Catastrophe and Halicarnassus were all easy. Fire 3 and Flare and Holy and Brave Blade. Apocalypse hit Faris with Sonic Wave then Roulette, but she was expendable. Catastrophe's Earth Shaker was just barely survivable and raceable with cure spells. In a reversal, Faris often tended to take over the healing duties now as Lenna's time was more valuable pitching Holy spells. Dualcast Fire 2 wasn't worth anything but Dualcast Cure 2 wasn't far behind Cure 3.
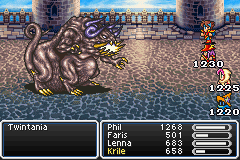
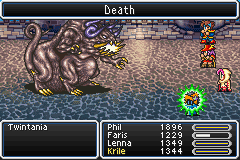
Twin Tania: not so easy. Mega Flare pasted 3/4 of the party, with the Aegis Shield protecting Phil but he wasn't going to do it all himself. This happened three times then I checked the algorithms faq. Twin Tania responds to physical hits with a 1/3 chance of Tidal Wave and magic hits with a 1/3 chance of Mega Flare. I guess the answer to the counterattacks really is FF1 style, just redo the battle until the random stuff goes your way. Eventually it did, but then:
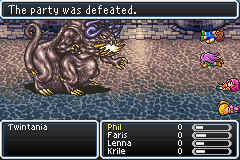
Stupid lack of Haste. I didn't get any turns between the charge message and the Giga Flare. This was a serious road block.
Giga Flare is actually a worse problem for a full party than a solo character, just because the HP totals scale up geometrically for later levels. At level 50+, it's not that hard to get 3000+ HP to survive it, even Sullla's weakling black mage did. At level 39, it's a disaster even for a fighter. Shell spells won't even work unless we go level over 1500 HP. (Phil could survive but he'd be a lone dead duck to the next counterattack.)
Surviving Giga Flare won't work, but neither will racing to win before it hits. We just couldn't deal damage fast enough without Haste. The numbers were 6500 per round from Lenna's Holy, 4500 from Phil's Excalibur, 3000 from Krile's Flare, and 1000 from Faris's weapon. 15000 times 4 rounds before Giga Flare is barely enough to beat 50000 HP, but won't work when we have to spend turns healing against the counterattacks. Coral Rings to nerf Tidal Wave are off limits by variant rule.
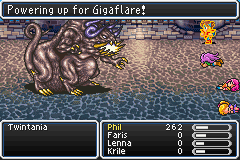
Twin Tania briefly swaps to a second form in the turn right before he casts Giga Flare. This form is weak to all elements. If I timed it right, I could get double damage from Holy and Fire 3 for one round. But even that was still not enough for the kill.
Wait... the algorithms faq does not list any immunity to Dead status nor Heavy flag during the "Charging" form. Is it that easy?
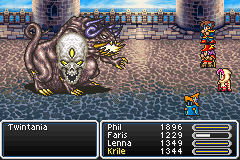
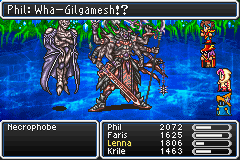
SUPER CHEESE TASTIC SPELL TO THE RESCUE!
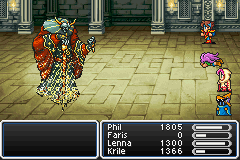
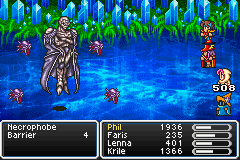
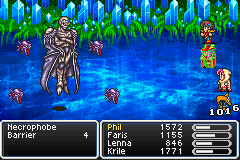
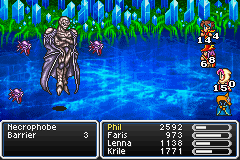
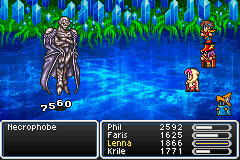
Gilgamesh was easily dispatched, with Necrofobia next. His Barriers have permanent Wall status. We have no way of getting Walls ourselves to reflect spells onto them, or any methods of Wall-piercing magic (summons and Comet.) Physical damage is the only option to kill each one's 8800 HP. They are not immune to Dead status but I can't think of any way to inflict it - the Assassin Dagger's death spell will bounce off the Wall.
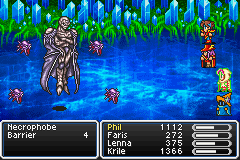
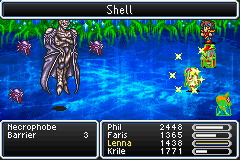
Managed to barely survive one round (Shell status on Lenna there) and get off the Cure 3.
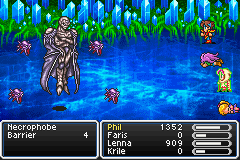
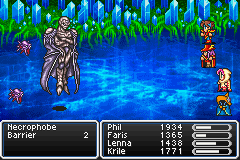
Ouch, two warriors down on the second round. Shell status onto Phil, but he got wiped on round three. Dang.
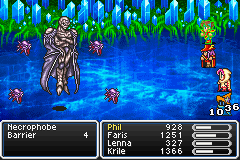
I made a few more tries but this really wasn't going to work. We needed at least three rounds to kill one barrier and couldn't make that, just not enough physical offense without the heavy hitters like Double Grip or Jump or X-Fight or Sword Dance. Shell status would make this easy, but I can't get enough turns to cast it on enough warriors. (Oh for Mighty Guard.) Resistance would also make this easy, but there is actually very little resistance gear in FF5 as opposed to immunity or absorption. The only two such items are the Diamond Helm (for Phil) and Diamond Plate (for Faris), both for lightning resistance. (Also the Diamond Shield but the Aegis is way superior.)
So the only answer here is to go gain levels for more HP. I'm not at all ashamed of that. Grinding was a big part of FF1. And this is only the second time in this whole game that I've had to. And I'm under no delusion that we can beat Neo Exdeath without some leveling.
The place to level as usual was the Great Sea Trench. We could win every battle in one round with Fire 3 and Cure 3 damage (all the monsters are undead.) To break it up a bit I decided to go polish off the Great Trench boss after all. It turns out that even 99 Hi-Potions are not enough to repair the damage incurred by the lava floor on that last level with the switches. I had to save and use almost all of Faris and Lenna's magic for cure spells. Plus at the switches I would intentionally walk back and forth to get into a fight to use the Healing Staff to heal up.
Fortunately, I discovered that if you retreat one floor to the save point, the door to the boss stays open. So I did and Tented it up. And the boss fight was no problem, as expected. Wear them down keeping track of each one's HP, then wait for all four warriors' turns to line up (mages first, then Phil to clean up any single one left over) and blast Bolt 3 and Cure 3 into them.
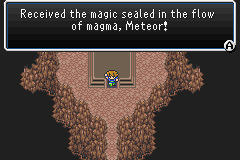
Ah right, I always forget that this dungeon does have a reward, though it's not something that we can ever use.
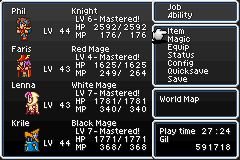
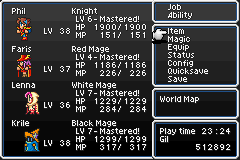
So I added five levels to 44 and 43, with Phil picking up two more attack multipliers from 19 to 21. I think this gives him the oomph to kill a Barrier in three hits by himself. It also got Faris an additional multiplier from 9 to 10 on her Cure spell ability, which could be important.
And an equipment adjustment: I've been using Diamond Armlets for all three mages pretty much forever. Most of the usual power choices are off limits by variant rule - Flame Ring, Coral Ring, Running Shoes, Protect Ring. But the Diamond Armlet seems really weak sauce, so I looked over the accessories list for something better. Hey, the Angel ring. It gives the same 5 defense as the Diamond Armlet, plus 10 magic defense and 10 magic evade. It doesn't do anything forbidden by variant rule; status immunity is okay; FF1 had status immunity items; and FF1 didn't have anything as weird as Zombie or Aging status so it's only right that we should be protected from it. And both immunities could come in handy against Grand Cross. I flew to Mirage and bought four.
No other equipment upgrades to be had. Circlets seem to be the best wizarding helm at 5 defense and 10 magic defense. Black Robe is the best wizarding armor. Nothing to put in the weapon slot of the white or black mages that helps with spells, so it's just the Healing Staff and Assassin Dagger.
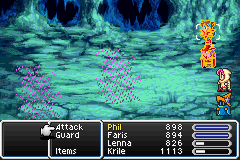
Round one - we barely survived with the enemy spells distributed in a good way. Faris can dualcast Cure 2 now and we can use Lenna's turn for a second Shell.
Round two - woooow look at those precarious HP totals. Those added levels were EXACTLY what we needed. It took all of a Dualcast Cure 2 and a Cure 3 to get back to full, but we did. Phil's third round didn't quite kill one barrier, but then Faris got a fourth turn before the barriers got a third turn, and killed the first one!
After another round:
Phil (without Shell) ate two Holys, but kept on ticking. Had to burn Lenna's turn on a full Cure 3. But Lenna's turn came around again before the Barriers, landing that crucial third Shell on Krile.

Survived another round of weak elemental spells (that Diamond helm and plate helped too), and that's within Faris's range to repair so Lenna can finish our fourth Shell finally.
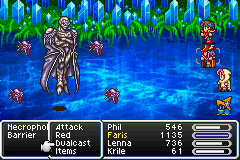
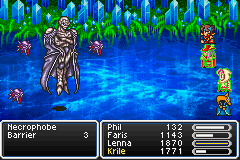
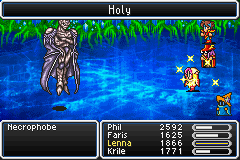
Down to two Barriers, and now Lenna can punch Cure 3 every round and let Faris cut over to attacking. We won't lose now. And with only the last barrier intact, Lenna had plenty of turns to also lay down Armor spells since Necro himself does fight physically. Necro himself is weak to every element and plonks in a hurry.
(No Gilgamesh, we don't really need you to save us now. Where were you when these barriers were beating the living crap out of us?)
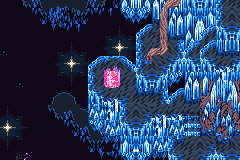
And so we claimed the last save point. Made it all the way to the end in pure FF1 style! But now what have I gotten myself into?
Index | Next